Falling for Flavor: Spiced Pumpkin Pancake Recipe with a Crunchy Pecan Twist
These pumpkin pancakes are the perfect cozy breakfast for a crisp autumn morning. Made with a blend of warm spices—cinnamon, nutmeg, ginger, and cloves—along with rich pumpkin puree, they have a soft, fluffy texture that melts in your mouth. The buttermilk adds a slight tang, while the vanilla and melted butter bring a lovely richness. To top it all off, the crunchy pecan topping, coated in maple syrup and cinnamon, adds the perfect sweet, nutty crunch to every bite.
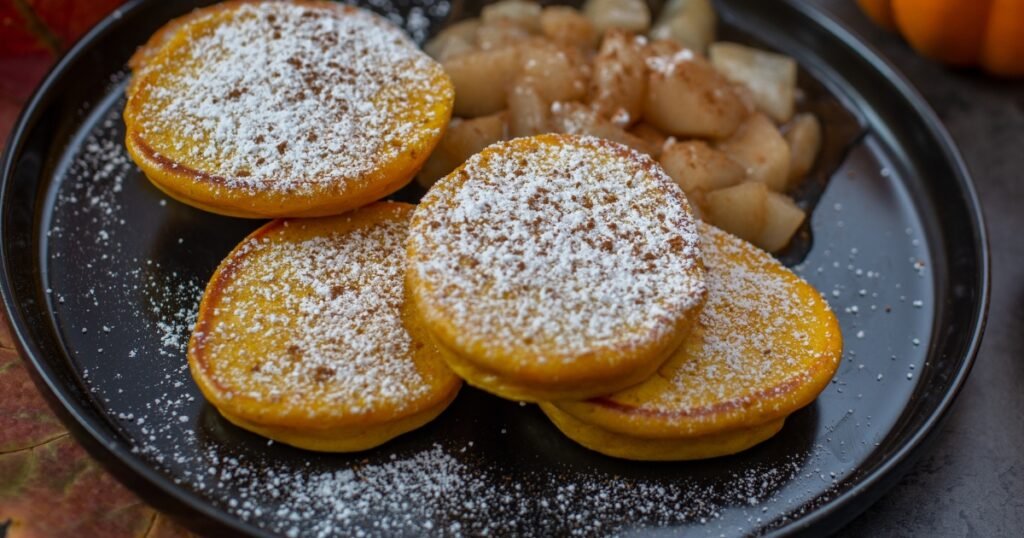
These pumpkin pancakes are soft, spiced, and everything you want on a crisp fall morning.
They’re made with real pumpkin puree and just enough cinnamon, nutmeg, and clove to make the kitchen smell like October.
I make these on the weekends when the leaves start turning and the kids start asking for cozy breakfasts.
Add a pat of butter, real maple syrup, maybe a sprinkle of toasted pecans — and you’ve got the ultimate fall stack.
Table of Contents
Can I Use Pumpkin Pie Filling For This Pumpkin Pancake Recipe?
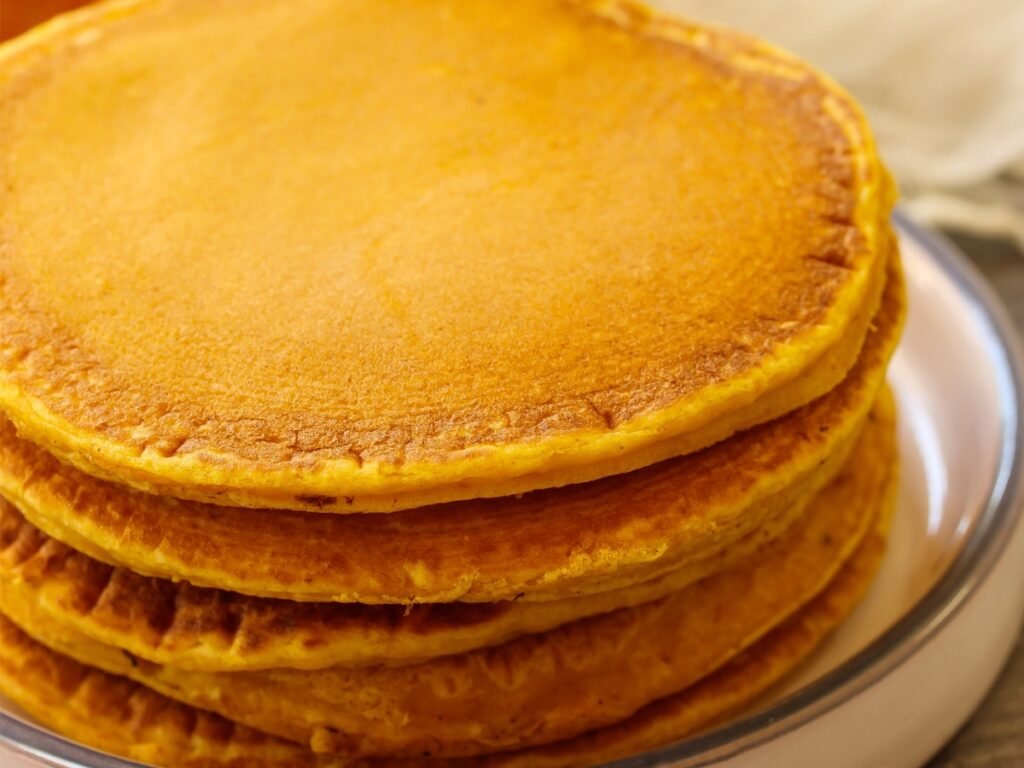
Yes, you can use canned pumpkin pie filling to make this pumpkin pancake recipe, with a few things to keep in mind:
Adjustments: Since canned pumpkin pie filling already contains added spices and sweeteners meant for making pies, you’ll need to adjust the other ingredients in your pancake recipe to accommodate the flavors and sweetness already present in the filling. You may want to reduce the amount of additional spices and sweeteners you add to the pancake batter.
Texture: Canned pumpkin pie filling might have a slightly different texture than plain pumpkin puree. It could be slightly thicker due to the added ingredients. You can adjust the consistency of the pancake batter by adding a little more liquid (such as milk or buttermilk) if needed.
Taste: Keep in mind that using pumpkin pie filling will impart a more pronounced pumpkin spice flavor to your pancakes. This can be a delicious twist if you’re looking for a spicier and sweeter pancake.
Flexibility: While canned pumpkin pie filling can add convenience, using plain canned pumpkin puree offers more flexibility and control over the final taste and texture of your pancakes. With plain pumpkin puree, you have the ability to adjust the spices and sweeteners to your preference.
If you decide to use canned pumpkin pie filling for this pumpkin pancake recipe, taste the batter as you go and make adjustments as needed to balance the flavors and ensure that the pancakes turn out as delicious as you envision.
Know Your Veggies
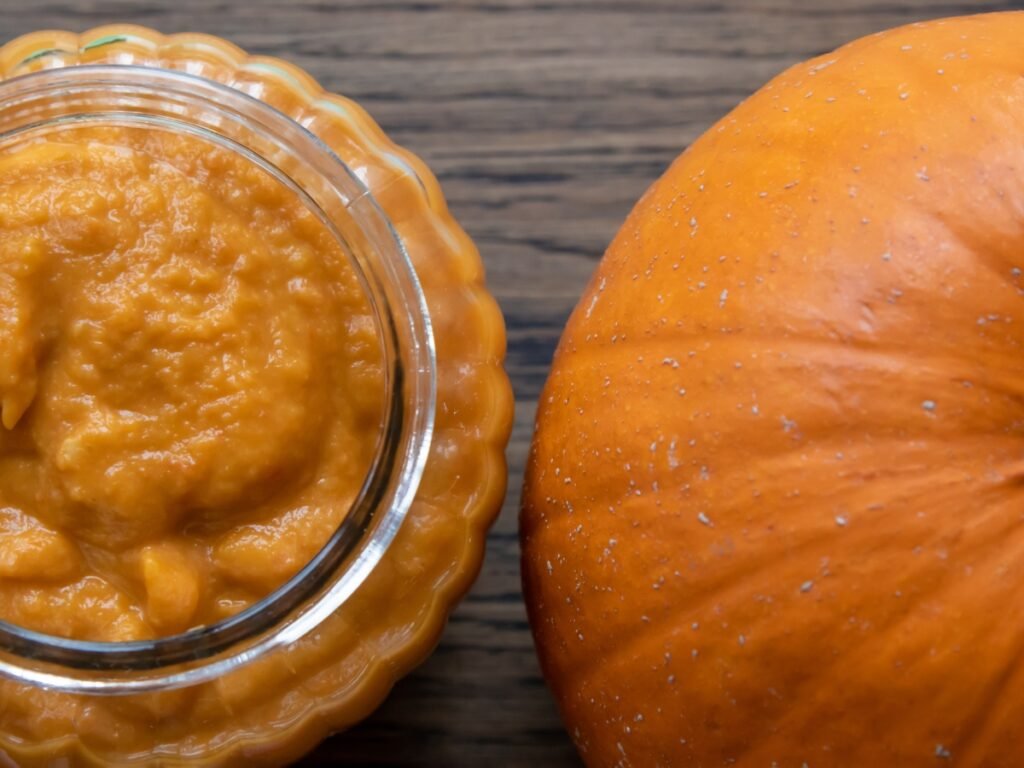
Pumpkin is both delicious and nutritious, making it an excellent ingredient for breakfast, mainly when used instead of traditional pancake ingredients.
1. Rich in Nutrients: Pumpkin is packed with essential vitamins and minerals. It’s a good source of vitamin A, which is important for maintaining healthy vision, skin, and immune function. Pumpkin also contains vitamins C and E, as well as minerals like potassium and magnesium.
2. Low in Calories and Fat: Pumpkin is naturally low in calories and fat, making it a healthier option for those looking to manage their weight and overall health.
3. High in Fiber: Pumpkin is a good source of dietary fiber, which is beneficial for digestion and helps promote feelings of fullness, making it a satisfying choice for a hearty breakfast.
4. Antioxidant-Rich: The vibrant orange color of pumpkin indicates the presence of beta-carotene, a powerful antioxidant that helps protect cells from damage and supports overall health.
5. Natural Sweetness: Pumpkin has a naturally sweet flavor, which can help reduce the need for excessive added sugars in recipes. This makes it a great ingredient for adding sweetness to your pancakes without relying solely on sugar.
6. Versatility: Pumpkin can be used in various dishes, both sweet and savory. Its mild flavor allows it to pair well with a range of ingredients and spices, making it a versatile addition to breakfast recipes.
7. Fall Flavors: Pumpkin’s warm and comforting flavor profile, often associated with fall, can add a cozy and seasonal touch to your breakfast, enhancing the overall dining experience.
8. Unique Texture: When incorporated into pancake batter, pumpkin adds moisture and a pleasing texture, resulting in pancakes that are fluffy, tender, and slightly denser than traditional pancakes.
*FUN FACT*
By using pumpkin as a key ingredient in your breakfast pancakes, you not only create a delicious and satisfying meal but also boost the nutritional value of your breakfast. The natural sweetness and wealth of nutrients in pumpkin make it an excellent choice for a hearty and wholesome breakfast that can help kick-start your day on a nutritious note.
Grab Everything you Need
Before you begin making this Pumpkin Pancake Recipe, gathering all the necessary tools and equipment is a good idea to ensure a smooth cooking process. Here’s a list of tools you’ll need:
- Large Mixing Bowl: For combining dry and wet ingredients separately before mixing them.
- Whisk: To Mix and combine the pancake batter evenly and smoothly.
- Measuring Cups and Spoons: Essential for accurate measurement of ingredients.
- Spatula or Mixing Spoon: To gently fold the wet and dry ingredients together and to portion out the batter onto the skillet.
- Non-Stick Skillet or Griddle: For cooking the pancakes. A non-stick surface is essential to prevent sticking and achieve even cooking.
- Cooking Spray or Butter: To grease the skillet or griddle before cooking the pancakes.
- Small Bowl (for pecan topping): To mix the chopped pecans, maple syrup, cinnamon, and salt for the topping.
- Baking Sheet: If you plan to toast the pecans for added flavor and crunch, you’ll need a baking sheet for this step.
- Food Processor or Blender (optional): If you’re making homemade pumpkin puree, you may need a food processor or blender to puree the roasted pumpkin flesh.
- Plate or Platter: To stack and serve the cooked pancakes.
- Sieve or Strainer (optional): If you want an extra smooth pumpkin puree, you might use a fine-mesh sieve or strainer to remove any remaining fibers.
- Kitchen Towel: To cover and keep the cooked pancakes warm while preparing the remaining batches.
- Turner or Pancake Flipper: To carefully flip the pancakes when cooking.
- Stove: To cook the pancakes over the heat source.
Remember that kitchen equipment can vary, so adapt the tools based on what you have available. Assemble these items before you start cooking to make the process more efficient and enjoyable.
Check Out the Best Pans To Cook Pancakes
Want to Make Your Own Fresh Pumpkin Puree?
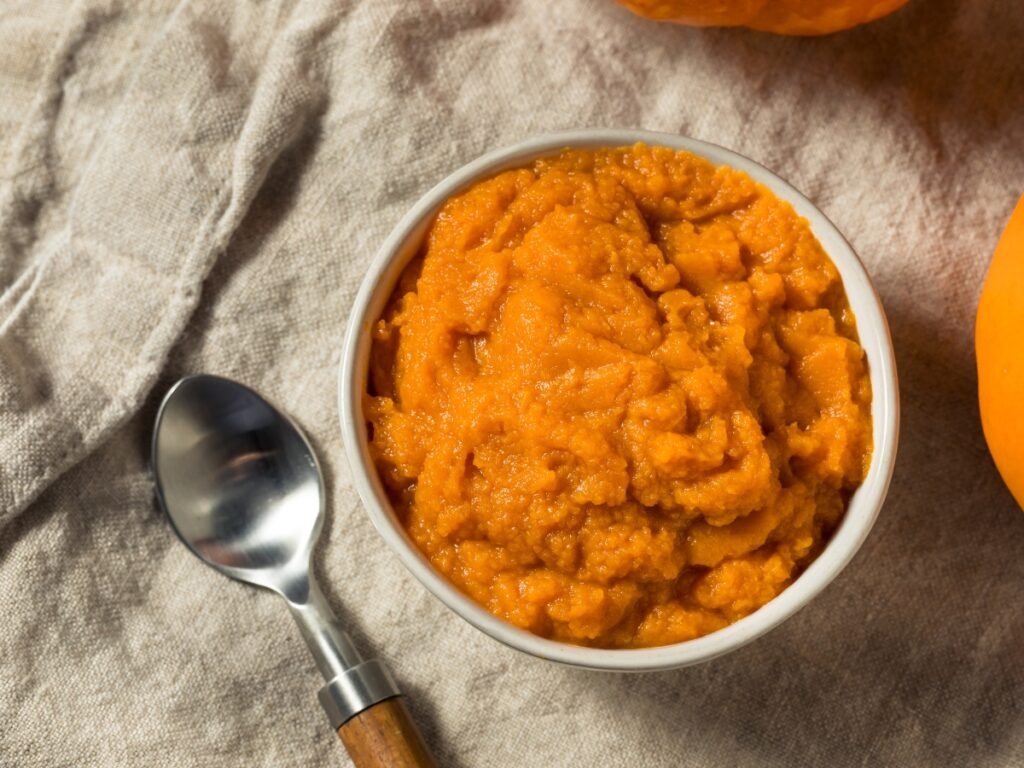
Making homemade pumpkin puree is quite simple and can be a great way to use fresh pumpkins in you pumpkin pancake recipe when they are in season. Here’s a step-by-step guide on making homemade pumpkin puree: it depends on your preference.
- Choose the Right Pumpkin:
- Look for pie pumpkins or sugar pumpkins, which are smaller and sweeter than the larger pumpkins used for carving. These pumpkins have a smoother texture and are ideal for making puree.
- Preheat the Oven:
- Preheat your oven to 375°F (190°C).
- Prepare the Pumpkin:
- Wash the pumpkin thoroughly to remove any dirt or debris.
- Use a sharp knife to carefully cut off the stem and then cut the pumpkin in half vertically.
- Remove Seeds and Strings:
- Use a spoon to scoop out the seeds and stringy fibers from the center of each pumpkin half. You can save the seeds for roasting if you like.
- Roast the Pumpkin:
- Place the pumpkin halves, cut side down, on a baking sheet lined with parchment paper or aluminum foil.
- Roast the pumpkin in the preheated oven for about 45-60 minutes, or until the flesh is fork-tender.
- Scoop the Flesh:
- Remove the roasted pumpkin from the oven and let it cool slightly.
- Once it’s cool enough to handle, use a spoon to scoop out the cooked pumpkin flesh from the skin.
- Blend or Mash:
- Transfer the pumpkin flesh to a food processor, blender, or use a potato masher.
- Blend or mash until the pumpkin is smooth and creamy. If using a blender or food processor, you may need to work in batches.
- Strain (Optional):
- If you prefer an even smoother texture, you can strain the pumpkin puree through a fine-mesh sieve to remove any remaining fibers.
- Store or Use:
- Allow the homemade pumpkin puree to cool completely before storing it in an airtight container in the refrigerator. It can also be frozen for longer storage.
- Use the homemade pumpkin puree in your favorite recipes, such as soups, pies, mini pancakes, muffins, and more!
*Side Note*
Homemade pumpkin puree has a fresher and more intense flavor than canned pumpkin. It’s a versatile ingredient that can elevate your fall and holiday dishes. The size of the pumpkin will determine the amount of puree you’ll get so that you can adjust the recipe quantities accordingly.

The Recipe: Pumpkin Pancakes
These pumpkin pancakes are pure fall comfort in every bite—made with real pumpkin puree, warm cinnamon, nutmeg, and cloves, and topped with maple-soaked toasted pecans.
They’re fluffy, flavorful, and incredibly easy to whip up from scratch. Whether it’s a cozy weekend breakfast or a festive fall brunch, these pancakes are guaranteed to impress!
Serving Suggestions

🍳 What to Pair It With:
- Crispy Bacon or Breakfast Sausage – The savory crunch perfectly complements the sweet, spiced pancakes.
- Vanilla Greek Yogurt – Adds creamy tang and boosts protein for a balanced breakfast.
- Spiced Apple Compote – A cozy fall topping that doubles the seasonal flavor.
🍽️ How to Serve It:
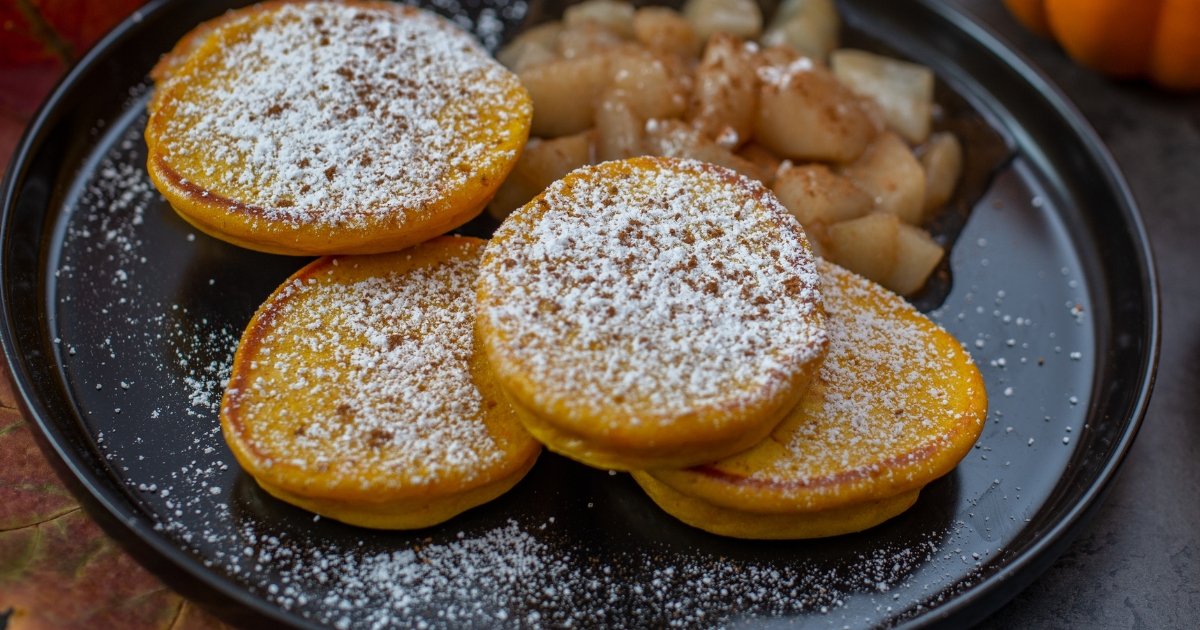
Stack 3–4 warm pumpkin pancakes on a plate, drizzle with the pecan maple topping, and finish with a dusting of powdered sugar or a dollop of whipped cream. For brunch vibes, serve with a side of coffee or warm cider.
🍂 When It’s Best Served:
These pancakes shine brightest in fall and winter, but let’s be real—pumpkin cravings don’t check calendars. Serve them for cozy weekend breakfasts, holiday brunches, or lazy Sunday mornings.
✨ Creative Bonus Tip:
Try adding a swirl of cinnamon maple butter or a sprinkle of crushed candied pecans on top for a sweet crunch that makes every bite extra special.
Conclusion
There’s nothing quite like a tall, fluffy stack of pumpkin pancakes to bring the whole family to the table. These pancakes are bursting with cozy spices, rich pumpkin flavor, and that dreamy pecan-maple topping that takes it over the top.
Whether you’re making them for a crisp fall morning or just because, I hope this recipe becomes a new seasonal favorite in your home!
📸 Don’t forget to tag @Dealiciousness on Instagram or Facebook when you make them—I love seeing your kitchen creations!
⭐ If you loved this recipe, please give it a 5-star review down below. It helps more food lovers find it and keeps the pancake magic going!
👉 Stay connected for more cozy, real-food recipes:
Instagram | Facebook | Pinterest | YouTube
Thanks for cooking with me! 🧡
Before You Go! More Recipes to Love:
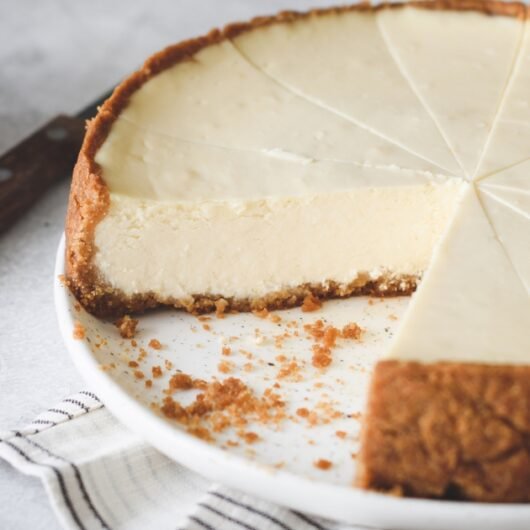
The Best Sugar Cookie Cheesecake Recipe
Cooks in 70 minutesDifficulty: EasyA delightful fusion of buttery, sweet sugar cookie crust and creamy, rich cheesecake filling. This dessert combines the best of both worlds, with hints of vanilla, a touch of tangy sour cream, and a smooth whipped topping. Perfect for any occasion! Key ingredients: sugar cookies, cream cheese, butter, vanilla, and heavy cream.
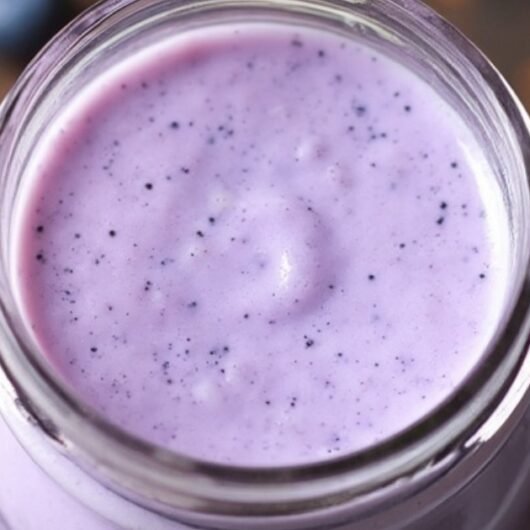
Homemade Blueberry Coffee Creamer
Cooks in 70 minutesDifficulty: EasyThis Blueberry Coffee Creamer combines the vibrant flavor of fresh blueberries with the creamy richness of heavy cream, a touch of pure maple syrup, and a hint of vanilla. It’s the perfect balance of fruity and sweet to elevate your coffee or favorite breakfast dishes.
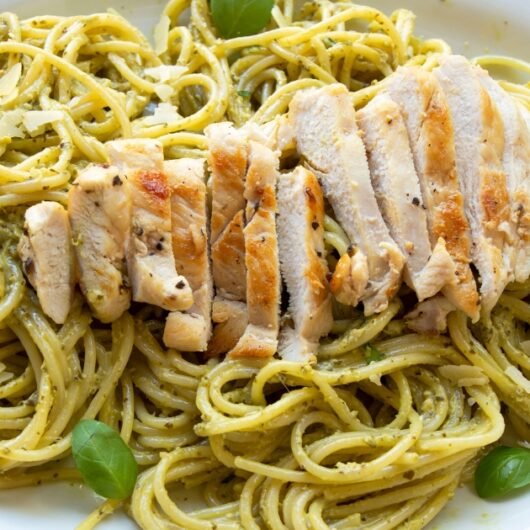
Chicken Pesto Pasta
Cooks in 70 minutesDifficulty: Easy, MediumA fresh and flavorful Chicken Pesto Pasta made with tender, juicy chicken, creamy homemade basil pesto, and al dente pasta. Bursting with the vibrant flavors of garlic, Parmigiano-Reggiano, and toasted pine nuts, this dish is a perfect balance of comfort and gourmet.
FAQs And Additional Information
1. Can I make pumpkin pancakes without buttermilk?
Absolutely! If you don’t have buttermilk, you can easily make a substitute by mixing 1 cup of milk with 1 tablespoon of lemon juice or vinegar. Let it sit for 5 minutes, and it’s ready to use in this pumpkin pancake recipe.
2. Can I use homemade pumpkin puree instead of canned?
Yes, homemade pumpkin puree works wonderfully! Just ensure it has a smooth consistency and isn’t too watery. Strain it if needed to match the thickness of canned pumpkin.
3. How can I keep the pancakes warm while cooking multiple batches?
Place cooked pancakes on a baking sheet in a 200°F (93°C) oven. This keeps them warm without overcooking while you finish the rest of the batch. Cover them loosely with foil to retain moisture.


Hi my friend! I wish to say that this article is awesome,
nice written and come with approximately all significant infos.
I’d like to see more posts like this .
It’s a shame you don’t have a donate button! I’d definitely donate to this brilliant blog!
I suppose for now i’ll settle for book-marking and
adding your RSS feed to my Google account. I look forward to new updates and will talk about this website with my
Facebook group. Chat soon!