Sourdough Bagels Made Easy – The Ultimate Bagel Recipe Homemade from Scratch!
Want the best sourdough bagels ever? This bagel recipe homemade with a bubbly sourdough starter, high-protein flour, and a classic malted water bath gives you perfectly chewy, bakery-style bagels every time!
Disclosure: This article contains affiliate links, which means we will earn a commission if you purchase through the links on this page. The product recommendations are solely based on our genuine opinions and experiences. Read the Full Affiliate Disclaimer Here
Why You NEED to Make These Sourdough Bagels
These bagels are chewy, golden, and just the right amount of tangy thanks to the sourdough discard.
They’re boiled, baked, and better than anything you’ll find at the grocery store — and the best part? You can top them however you like.
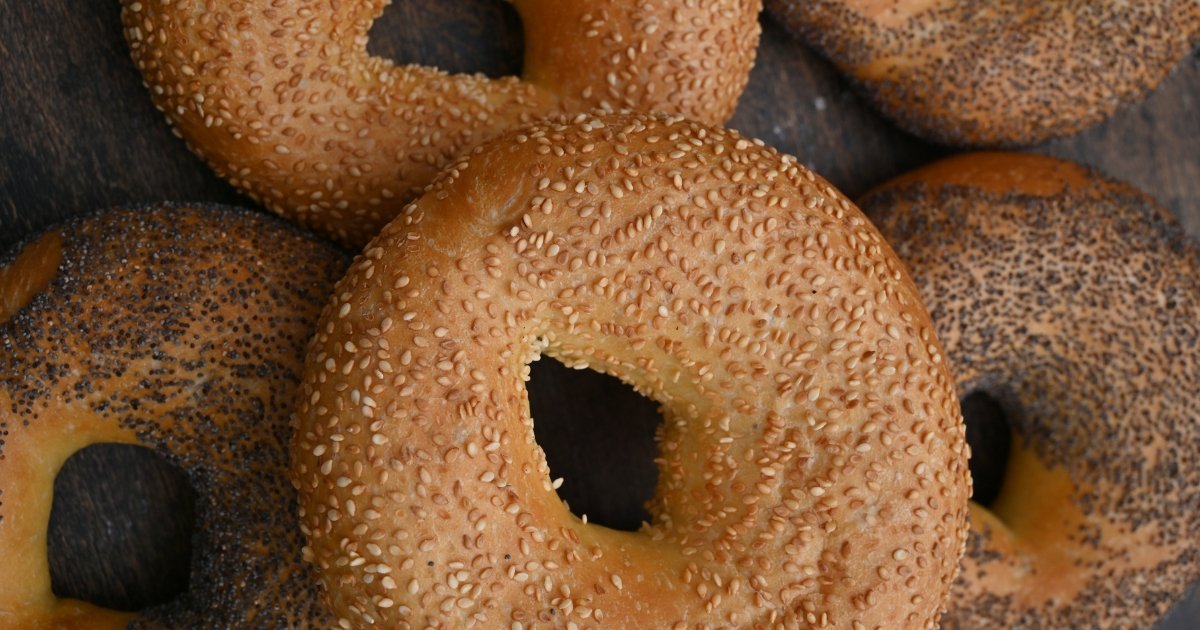
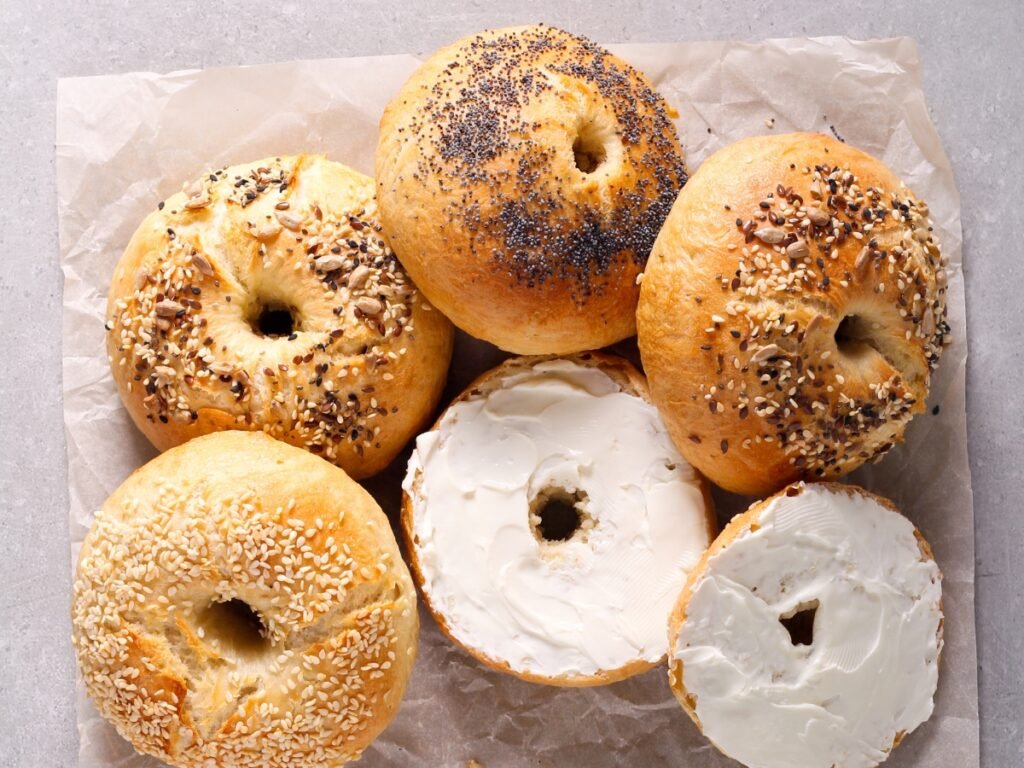
I boil mine in honey water for a slight sweetness, then coat them in sesame, poppy seeds, or a homemade “everything” mix.
Serve them toasted with butter, or build the ultimate breakfast sandwich — either way, you’ll wonder why you didn’t make them sooner.
Table of Contents
What Makes a Great Sourdough Bagel?
✔ Slow Fermentation = BIG Flavor
The longer the ferment, the deeper the flavor. Let these bagels take their sweet time in the fridge—it’s worth it.
✔ Boiling = That Classic Chew
That iconic bagel chewiness? Comes from boiling them before baking. No shortcuts here!
✔ No Commercial Yeast = True Artisan Bagels
This recipe is 100% naturally leavened, which means it’s all about the power of your sourdough starter.
What Makes This Sourdough Bagel Recipe Better Than the Rest?
There are a lot of bagel recipes out there, but this one stands out for a few key reasons.
Here’s why these sourdough bagels will blow every other recipe out of the water:
1. 100% Naturally Leavened – No Commercial Yeast!
Most “sourdough” bagel recipes sneak in a little commercial yeast to speed things up. Not here.
This recipe is fully fermented with an active sourdough starter, giving you that deep, complex tangy flavor you just can’t get from store-bought bagels.
2. Cold Fermentation = Unbelievable Flavor & Texture
Unlike quick-rise bagel recipes, this dough slowly ferments for 12-24 hours in the fridge.
Why does that matter?
✔ Develops that signature sourdough tang
✔ Creates a better, chewier texture
✔ Makes them easier to digest
3. The Perfect Boil for That Classic Chew
Some recipes skimp on this step, but boiling is non-negotiable if you want a real bagel.
✔ Barley malt syrup + baking soda in the water = extra chewiness & a golden crust
✔ Boiling before baking locks in moisture and gives that iconic bagel bite
4. Bakery-Quality Results in Your Own Kitchen
These bagels bake up just like the ones from an artisan bakery—crisp on the outside, soft and chewy inside, with a perfect crumb.
If you love NYC-style bagels, this recipe gets you that authentic texture and flavor at home.
5. No Weird Preservatives – Just Real, Fresh Ingredients
Unlike grocery store bagels packed with stabilizers, sugar, and who-knows-what, these bagels use just:
✔ Sourdough starter
✔ Bread flour
✔ Water
✔ Honey or malt syrup
✔ Salt
That’s it. Simple, real food = better bagels.
6. Customizable & Versatile
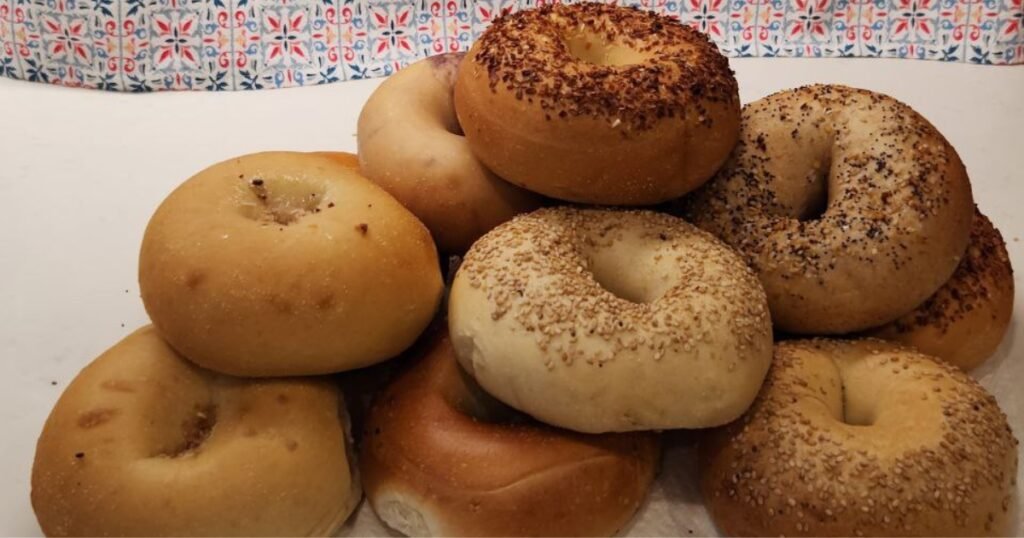
Want everything bagels? Sesame? Cinnamon raisin? You can easily customize these with your favorite toppings and flavors.
Plus, they freeze beautifully, so you can make a batch and have fresh, homemade bagels anytime.
How to Serve Sourdough Bagels & What to Pair Them With
Sourdough bagels are super versatile—you can go classic, savory, sweet, or gourmet depending on your mood.
Whether you’re making a simple breakfast, a loaded bagel sandwich, or a snack, here are some delicious ways to serve them!
🥯 Classic & Simple
Sometimes, a warm, fresh bagel doesn’t need much! Try:
✔ Butter & Honey – Let the butter melt into the bagel, then drizzle with honey for a slightly sweet touch.
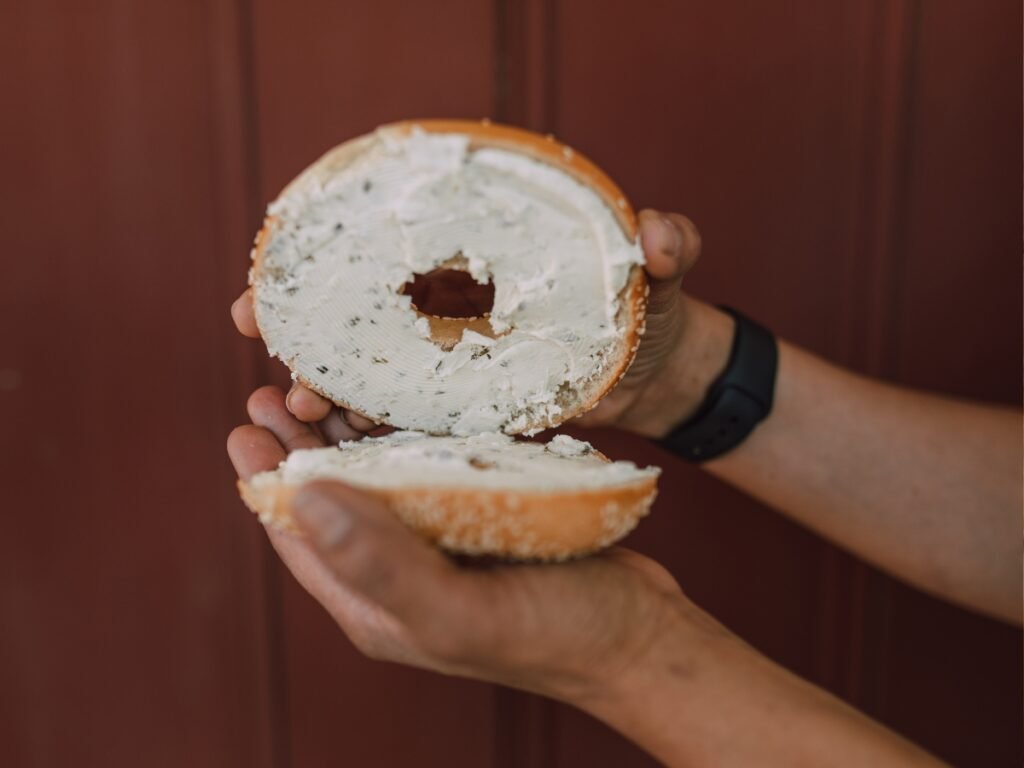
✔ Classic Cream Cheese – Plain, whipped, or flavored (chive, veggie, or honey walnut).
✔ Peanut Butter & Banana – A great energy-boosting combo.
✔ Jam or Preserves – Berry, fig, or even homemade apple butter.
🍳 Savory & Protein-Packed
Turn your bagel into a hearty breakfast or brunch!
✔ Egg & Cheese Bagel Sandwich – Add a fried egg, cheddar cheese, and avocado.
✔ Bacon, Egg & Cheese – Because New York knows what’s up.
✔ Lox & Cream Cheese – Smoked salmon, cream cheese, red onion, capers, and fresh dill.
✔ Avocado & Poached Egg – A healthy, creamy, and delicious option.
🥑 Gourmet & Fancy
Want to level up your bagel game? Try these restaurant-worthy combos:
✔ Brie & Fig Jam – The ultimate sweet and savory combo.
✔ Goat Cheese & Roasted Red Peppers – A tangy, creamy delight.
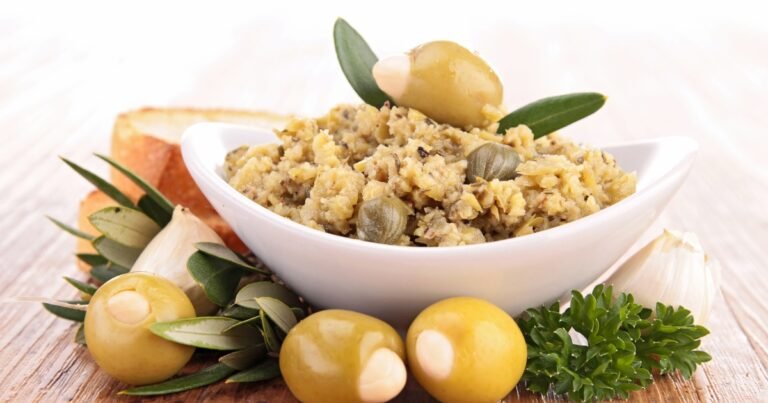
✔ Hummus & Cucumber – Light, fresh, and satisfying.
✔ Pesto & Mozzarella – Like a mini caprese sandwich.
🍗 Lunch & Dinner Bagel Sandwiches
Bagels aren’t just for breakfast! They make amazing sandwiches:
✔ Turkey, Avocado & Swiss – Perfectly balanced and filling.
✔ Chicken Salad or Tuna Salad – The extra chew of the bagel holds up to creamy fillings.
✔ Grilled Chicken & Pesto – A warm, melty, flavor-packed option.
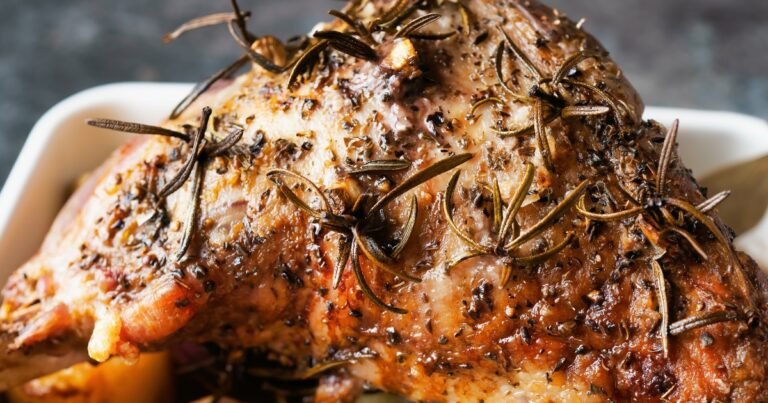
✔ Roast Beef & Horseradish Mayo – Bold and hearty.
🍬 Sweet & Dessert Bagels
Bagels for dessert? Absolutely.
✔ Cinnamon Sugar Bagel – Toasted with butter and cinnamon sugar.
✔ Nutella & Strawberries – A dreamy, chocolatey treat.
✔ Cream Cheese & Fresh Berries – Light, fruity, and refreshing.
✔ Apple Butter & Cheddar – A surprisingly perfect pairing.
🍲 What to Serve With Bagels
Need a side dish or extra toppings? Try these:
✔ Fresh Fruit or Yogurt – Keeps it light and refreshing.
✔ Scrambled Eggs or Omelet – A protein-packed pairing.
✔ Soup & Bagel Combo – Try with tomato soup, butternut squash soup, or even black bean soup for a cozy meal.
✔ Salads – A bagel sandwich + a fresh side salad = the perfect lunch.
What You’ll Need (Tools & Equipment)
Before we dive in, let’s make sure you’re equipped for bagel greatness:
✅ Mixing Bowl – For bringing the dough together
✅ Kitchen Scale – Precision = perfect bagels
✅ Bench Scraper – For shaping like a pro
✅ Large Pot & Slotted Spoon – For the all-important boil
✅ Baking Sheet & Parchment Paper – Non-stick magic
✅ Wire Rack – Cooling = crispy crust
Got everything? Awesome. Let’s get baking!
The Recipe: The Ultimate Sourdough Bagel
Get ready to make the best sourdough bagels of your life! These beauties are everything a bagel should be—golden, chewy, slightly crisp on the outside, and packed with deep, tangy sourdough flavor.
No commercial yeast, no shortcuts—just real, slow fermentation for that classic NYC-style bagel experience right in your own kitchen.
With a perfectly balanced bite and endless topping options, you’ll never look at store-bought bagels the same way again. Once you taste one fresh out of the oven, you’ll be hooked!
The Best Sourdough Bagels
10
Bagels15
minutes20
minutes300
kcalThese homemade sourdough bagels are perfectly chewy on the outside, soft and flavorful on the inside, and naturally leavened for the best depth of flavor. Made with a bubbly sourdough starter, high-protein bread flour, a touch of honey, and a classic malted water bath, these bagels have that signature golden crust and rich, tangy bite. Whether topped with sesame seeds, everything seasoning, or left plain, they’re a fresh, bakery-quality treat you’ll never want to buy again!
Keep the screen of your device on
Ingredients
- For the Dough:
200 g (1 cup) active sourdough starter (bubbly and ready to go)
500 g (4 cups) bread flour (high-protein for chewiness)
275 g (1 1/4 cups) warm water (filtered)
10 g (2 tsp) fine sea salt
25 g (2 tbsp) honey or malt syrup
- For Boiling & Topping:
2-3 tbsp barley malt syrup (or honey) for boiling
1 tbsp baking soda (enhances chewiness)
Toppings: sesame, poppy seeds, everything seasoning, or flaky salt
Directions
- Make the Dough
-Mix sourdough starter, warm water, and honey in a large bowl.
-Add bread flour and salt, then knead for 8-10 minutes until smooth and elastic. - Bulk Ferment (First Rise)
Let the dough rise at room temperature for 8-10 hours (overnight). - Shape the Bagels
-Divide dough into 8-10 pieces and roll into balls.
-Poke a hole in the center and stretch to 2 inches wide. - Cold Ferment (Second Rise for Flavor!)
Place shaped bagels on a tray and refrigerate for 12-24 hours. - Boil for Chewiness
Boil bagels for 30 seconds per side in water with malt syrup & baking soda. - Bake to Perfection
Top as desired and bake at 450°F (230°C) for 18-22 minutes until golden. - If you tried this recipe and loved it, I’d appreciate it if you could give it a 5-star rating ⭐⭐⭐⭐⭐ and leave a comment below! It really helps more people find the recipe, and I’d love to hear how it turned out for you!
Did you make this recipe?
Tag @Dealiciousness on Instagram and hashtag it with #Dealiciousness
Like this recipe?
Follow @Dealiciousness on Pinterest
Join our Facebook Group!
Follow Dealiciousness LLC on Facebook
What Can Be Substituted in This Sourdough Bagel Recipe?
One of the best things about this recipe is its flexibility—whether you need to adjust ingredients due to availability, dietary preferences, or just for fun, here are some easy swaps that still deliver delicious, chewy bagels!
1. Flour Substitutes
✔ Instead of Bread Flour → Use All-Purpose Flour
- Bread flour gives bagels their signature chewiness, but you can use all-purpose flour if needed. Just note that the texture may be slightly softer.
- If using all-purpose flour, reduce water slightly (~250g instead of 275g) since it absorbs less than bread flour.
✔ For a Whole Wheat Version → Swap up to 50% for Whole Wheat Flour
- Whole wheat flour makes the bagels denser, so don’t replace all the bread flour. Use a 50/50 mix of whole wheat and bread flour for a heartier, nuttier flavor.
- Add an extra 15-20g of water to compensate for the extra absorption.
✔ For a Gluten-Free Option → Use a 1:1 Gluten-Free Bread Flour Blend
- Bagels depend on gluten for structure, so results will vary. Use a high-protein gluten-free bread flour blend for the best texture.
2. Sweetener Substitutes
✔ Instead of Honey → Use Maple Syrup or Coconut Sugar
- Maple syrup gives a subtle caramel-like flavor.
- Coconut sugar adds a richer, deeper sweetness.
✔ Instead of Barley Malt Syrup (for Boiling) → Use Honey or Brown Sugar
- Barley malt syrup helps with the deep golden color and chewy texture, but honey or brown sugar work well in the water bath too.
3. Sourdough Starter Substitutes
✔ Instead of Sourdough Starter → Use Instant Yeast (For a Non-Sourdough Version)
- If you don’t have a sourdough starter, you can make a quick yeast version by replacing it with 1 teaspoon of instant yeast and adding an extra 100g of water.
- But let’s be real—the sourdough version is worth the wait!
4. Water Substitutes
✔ Instead of Plain Water → Use Milk or Buttermilk
- Using milk (dairy or plant-based) makes the bagels a little softer.
- Buttermilk adds a slight tang and makes the dough extra tender.
5. Topping Variations
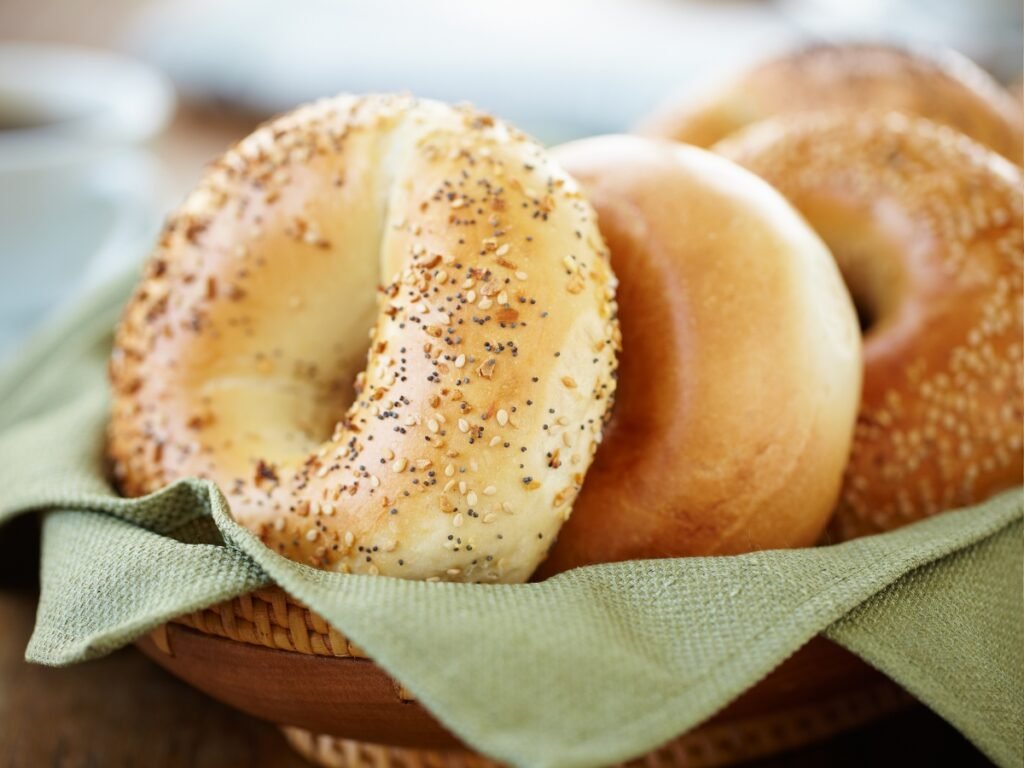
✔ Classic: Sesame, poppy seeds, or flaky salt
✔ Savory: Garlic powder, onion flakes, black pepper
✔ Sweet: Cinnamon sugar, chopped nuts, dried fruit
✔ Everything Bagels: A mix of sesame, poppy, garlic, onion, and salt
Final Thoughts – Once You Go Homemade, You’ll Never Go Back
Alright, let’s be real—after making these sourdough bagels, you’re about to ruin all store-bought bagels for yourself.
I mean, once you taste that chewy, golden crust, that soft yet satisfyingly dense inside, and that deep, slightly tangy sourdough flavor, how can you ever settle for those sad, pre-packaged bagels again?
And let’s not forget—the bragging rights you now have. You didn’t just make bagels; you crafted them.
From nurturing your sourdough starter to perfectly shaping each bagel by hand, you just pulled off a bakery-level masterpiece in your own kitchen.
So go aheadand humblebrag to your friends. Let them know you no longer make basic bread—you’re officially a sourdough artisan.
But the best part? Eating them. Fresh out of the oven, with a little butter melting into the nooks and crannies, or maybe stacked high with cream cheese and lox. Maybe you’re feeling bold and going for a bacon, egg, and cheese moment. No judgment. These bagels are yours to enjoy however you want.
And if you’re thinking, “Wow, these took a little time…”—well, yeah. But that’s what makes them so much better. These aren’t just bagels; they’re an experience. The slow fermentation builds flavor. The boil gives them that classic chew. And every bite reminds you why real, homemade food always wins.
So now the real question is… when’s the next batch happening? Because I promise, once you make these, you’re going to be craving them again and again.
If you give this bagel recipe homemade a try, tag me on Instagram @dealiciousness—I want to see those beautiful golden bagels! And drop a comment below with your go-to bagel topping—because let’s face it, bagel opinions are serious business.
Now, go enjoy your fresh, homemade sourdough bagels—you earned it! 🥯🔥
FAQs – Your Sourdough Bagel Questions Answered!
Still got questions? No worries—I’ve got you covered. Here are the top three FAQs about making sourdough bagels and what you need to know!
1. Why didn’t my bagels rise properly?
If your bagels didn’t rise well, a few things could be the culprit:
✔ Your sourdough starter wasn’t active enough – Make sure it’s bubbly and at peak activity before using. Feed it 4-6 hours before making your dough.
✔ Cold fermentation was too short or too long – Less than 12 hours won’t develop enough rise, and more than 24-36 hours can over-ferment and weaken the dough.
✔ Your kitchen was too cold – If your dough didn’t rise much during the first proof, give it more time in a slightly warmer spot.
2. Can I freeze these bagels?
Absolutely! Here’s how to do it right:
✔ Freeze after baking: Let the bagels cool completely, slice them (if you prefer), and store them in an airtight bag for up to 3 months. Toast straight from frozen!
✔ Freeze before baking: After shaping the bagels, freeze them on a tray, then transfer them to a bag once solid. When ready to bake, let them thaw overnight in the fridge, then proceed with boiling and baking.
3. Can I speed up the process if I’m short on time?
Sort of! While the best flavor comes from a long fermentation, you can:
✔ Let the first rise happen in a warmer spot (around 75-78°F) to speed things up.
✔ Do a 6-8 hour cold proof instead of 12-24 hours, though the tangy sourdough flavor won’t be as pronounced.
✔ Use a mix of sourdough starter and a tiny pinch of yeast (⅛ tsp) to give it a boost, but it won’t be 100% wild yeast fermentation.
Still, if you can, let them take their time—it’s so worth it!


I have now made these twice for my family and they are a big hit. Not difficult to make and delicious. I added various toppings such as poppy seeds, sesame seeds, everything seasoning and cheese, as well as made some plain. All were good.
Amazing!! Thank you for sharing.
Do I cover the bagels before placing them in the fridge for the cold ferment?